How Do You Clean a Sump Pit? Made Simple

The easiest way to clean a sump pit is to turn off the power, remove any standing water, and then scrape out debris. A sump pit can collect mud, sludge, and other gunk over time. Regular cleaning prevents clogs and ensures your sump pump works its best.
Cleaning your sump pit is a practical home maintenance task. You don’t need fancy tools to get the job done right. A clean pit helps prevent basement flooding and keeps your home safe and dry. Many homeowners find this process is simpler than they think.
- Always turn off the power first for safety.
- Remove standing water with a wet/dry vac.
- Scrape out accumulated mud and debris.
- Rinse the pit and check the sump pump.
Let’s walk through exactly how to clean your sump pit step by step. You’ll feel great knowing your basement is protected!
Keeping Your Sump Pit Clean and Clear
Cleaning your sump pit is essential for preventing basement flooding. It’s a straightforward maintenance task that doesn’t require special skills. When your sump pit is clean, your sump pump can do its job effectively. Let’s look at the steps involved in making this process simple for you.
Gathering Your Cleaning Supplies
Before you start, having the right tools makes the job much easier. You’ll want to gather everything you need in one place. This way, you won’t have to stop mid-task to find something. Think of it like preparing for a recipe; all ingredients ready makes for a smooth cooking experience.
Essential Tools for the Job
Most of what you need is likely already in your home or garage. You won’t need anything overly specialized. We found that a few basic items cover all your needs.
- A wet/dry vacuum is your best friend for removing water.
- A sturdy shovel or scraper for digging out mud and debris.
- A bucket for hauling out any removed gunk.
- Rubber gloves to protect your hands from the grime.
- Safety glasses to keep debris out of your eyes.
- A hose for rinsing the pit.
- An old rag or towel for drying any surfaces.
Safety First: Disconnecting Power
This is the most important step for your personal safety. You absolutely must disconnect the power to the sump pump before you do anything else. Working around water and electricity is dangerous. Never skip this step, no matter how quick you think the job will be.
Locating the Power Source
Your sump pump typically plugs into a dedicated outlet near the pit. Sometimes, it might be hardwired. If it’s hardwired, you’ll need to find the circuit breaker that controls the pump. Many homeowners locate the breaker box in their basement or garage. Flip the breaker to the “off” position for the sump pump circuit.
If you’re unsure which breaker controls the pump, it’s best to play it safe. You can flip the main breaker to your entire house. This ensures no power is reaching the pump. We found that turning off the specific circuit is usually sufficient and more convenient.
Removing Standing Water from the Pit
Once the power is off, you can tackle the water. A sump pit can accumulate a surprising amount of water. This water needs to be removed so you can get to the debris at the bottom. Your trusty wet/dry vacuum will be perfect for this.
Using Your Wet/Dry Vacuum
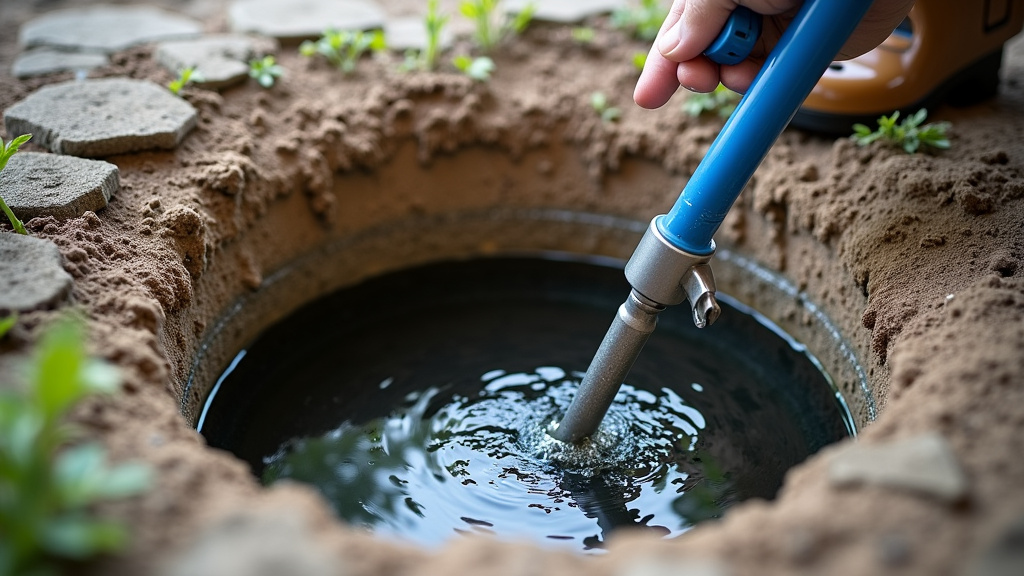
Attach the hose to your wet/dry vacuum. Make sure the vacuum is set to the “wet” setting. Carefully lower the hose into the sump pit. You’ll want to get as much water out as possible. Most vacuums have a capacity limit, so you might need to empty the vacuum canister a few times. This part can feel a bit tedious, but it’s a necessary step.
We found that directing the hose to suck water from the deepest part of the pit helps get the most water out. You might even get some of the looser sludge this way. If your vacuum has a pump-out feature, it can make this step even faster.
Scraping Out Debris and Sludge
Now that the water is gone, you’ll see the accumulation at the bottom. This is usually a mix of mud, silt, gravel, and other assorted gunk. This is where your shovel or scraper comes in handy. This debris can weigh down your pump or even clog its intake.
Getting to the Bottom of It
Carefully use your shovel or scraper to dig into the accumulated material. You’ll want to scoop it out and place it into your bucket. Work your way around the pit, removing as much of the build-up as you can. Be mindful not to damage the sump pump itself or its discharge pipe. Many experts recommend working slowly and deliberately here (Cleveland Clinic).
Sometimes, the debris can be quite compacted. You might need to use a bit of force. If it’s very thick, you might even consider using a small trowel or even a sturdy old spoon for those hard-to-reach spots. Don’t worry about getting every last speck; the goal is to remove the bulk of the material.
Cleaning the Sump Pit Walls and Floor
After removing the bulk of the debris, the pit walls and floor might still have residue. A good rinse will help clean these surfaces. This step ensures no lingering muck can cause issues down the line.
A Good Scrub and Rinse
Use your hose to spray down the inside of the sump pit. Direct the water spray to wash away any remaining mud or slime. You can use your scraper or even a stiff brush to scrub any stubborn spots. Allow the dirty water to drain to the bottom of the pit. You can then use your wet/dry vacuum again to suck up this final bit of dirty water.
Some homeowners prefer to use a diluted bleach solution or a specialized sump pit cleaner for an extra clean. However, many sources suggest that plain water is usually sufficient for regular cleaning (Environmental Protection Agency). Just be sure to rinse thoroughly if you use any cleaning agents.
Inspecting Your Sump Pump and Float Switch
While you’re down there, it’s the perfect time to inspect your sump pump. A clean pit offers a clear view of the pump and its components. Make sure everything looks to be in good working order. This is preventative maintenance at its finest. While inspecting the pump, it’s also a good time to check the sump pump discharge pipe for any blockages.
Checking for Damage and Functionality
Look over the pump itself for any obvious cracks or damage. Check the discharge pipe to ensure it’s secure and not blocked. Most importantly, check the float switch. This is the part that tells the pump when to turn on and off. Make sure it moves freely and isn’t stuck by debris or sediment.
You can gently move the float switch up and down to test its movement. Many experts advise testing the pump by carefully adding water to the pit (after restoring power, of course) to see if it activates and pumps water out as expected (National Association of Home Builders). This check helps ensure your pump is ready when you need it most.
Final Steps and Reassembly
Once everything is clean and inspected, you’re almost done. It’s time to put things back together and ensure your pump is ready to protect your home.
Restoring Power and Testing
Carefully remove any tools or remaining water from the pit. If you turned off the main breaker, you can now turn it back on. If you flipped a specific circuit breaker, turn that one back on. Listen for the sump pump to activate. If you added a bit of water during cleaning, you should see it turn on and start pumping it out.
Double-check that the float switch is set correctly. The pump should turn on when the water reaches a certain level and turn off when it’s sufficiently lowered. This cycle confirms your pump is working correctly after your cleaning session. You’ve successfully cleaned your sump pit!
Your Sump Pit Cleaning Checklist
Here’s a quick recap to help you remember the key steps for your next cleaning:
- Turn off power to the sump pump at the breaker.
- Use a wet/dry vac to remove all standing water.
- Scrape out mud, silt, and debris from the pit bottom.
- Rinse the pit walls and floor with a hose.
- Inspect the sump pump and float switch for damage.
- Restore power and test the pump’s operation.
Conclusion
You’ve learned how simple it can be to keep your sump pit clean and your basement dry. Remember, turning off the power is your first and most important safety step. Removing standing water with a wet/dry vac and then scraping out the accumulated gunk will prevent future problems. A quick inspection of your sump pump ensures it’s ready to go. Now that you have the steps down, schedule your next cleaning in a few months. Taking these small actions protects your home and gives you peace of mind.
Frequently Asked Questions
How often should I clean my sump pit?
We recommend cleaning your sump pit at least once a year. If you live in an area with heavy rainfall or notice increased debris, consider cleaning it every six months. Regular checks can help you decide on the best frequency for your home.
Can I use household cleaners in my sump pit?
For routine cleaning, plain water is usually sufficient and best. If you do choose to use a cleaner, opt for a diluted bleach solution or a specialized sump pit cleaner and ensure you rinse thoroughly. Avoid harsh chemicals that could damage the pump or pipes.
What if my sump pump is clogged with debris?
If debris has clogged your pump, you’ll likely need to disconnect it and manually clear the obstruction. Turn off the power first. Carefully remove the pump, clean the intake screen or impeller, and then reinstall it. Ensure the float switch is clear and can move freely.
My sump pit is full of sand. How do I clean that?
Sand can be tough to remove. Your wet/dry vacuum will be essential for removing as much of the standing water and loose sand as possible. For compacted sand, you might need to use a small shovel or trowel to break it up before scooping it into your bucket. Rinse the pit thoroughly afterward.
What is the float switch, and why is it important?
The float switch is the part that automatically turns your sump pump on and off. It rises with the water level and signals the pump to start when the water reaches a certain point. It then signals the pump to stop when the water level drops. Ensuring it moves freely is vital for the pump’s operation.