How Do You Install a Sump Pit? The Real Answer
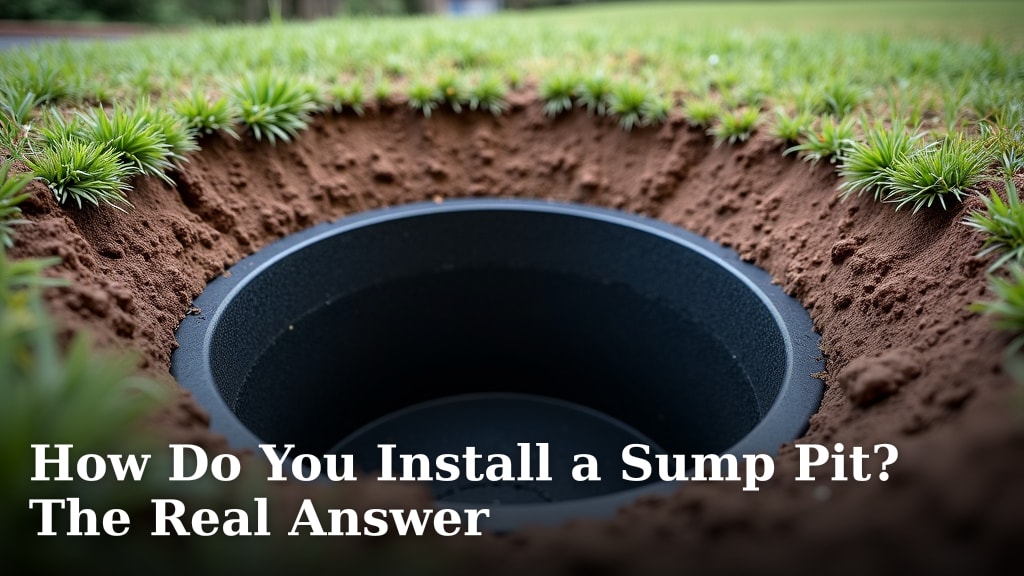
Installing a sump pit yourself is definitely achievable for many homeowners, though it requires careful planning and some physical work. You’ll need to dig a hole, set the pit, and connect it to your drainage system. Many experts say it’s a project that can save you money compared to hiring a professional installer if you’re comfortable with basic excavation and plumbing.
A sump pit, also known as a sump basin, is the foundation of your sump pump system. Its main job is to collect excess water that might otherwise flood your basement or crawl space. Understanding its installation ensures your home stays dry and protected from water damage year-round.
- A sump pit collects basement water.
- Installation involves digging and setting the pit.
- It connects to your sump pump for water removal.
- DIY is possible with the right tools and skills.
- Proper installation prevents basement flooding.
Let’s walk through exactly how you can install a sump pit step by step to keep your basement safe and dry.
Setting Up Your Sump Pit: A Practical Guide
Installing a sump pit is a job that many homeowners can tackle themselves. It’s all about digging a hole, placing the pit correctly, and then linking it up to your home’s drainage. We found that doing it yourself can save a good chunk of money compared to hiring a pro. This guide will walk you through the steps.
Understanding Your Sump Pit’s Role in Your Home
Your sump pit is the star player in keeping your basement dry. It’s the collection point for all the water that might make its way into your foundation. Think of it as the catch basin before your sump pump kicks in. This pit is essential for preventing serious water damage, mold growth, and those dreaded musty smells. Getting the installation right means your basement stays safe and dry.
Before You Dig: Planning Your Sump Pit Installation
Before you even think about swinging a shovel, there’s some homework to do. Proper planning is key to a successful sump pit installation. You need to figure out where the pit will go and make sure it’s the right type of pit for your needs.
Choosing the Right Location
The best spot for your sump pit is usually the lowest point in your basement or crawl space. This is where water naturally collects. You’ll want to choose a location that’s easily accessible for maintenance later on. Also, make sure there’s enough clearance above the pit for your sump pump and its discharge pipe. Consider where your existing drain lines or footing drains are located; ideally, the pit will be near these for easier connection.
Selecting the Proper Sump Pit
Sump pits come in different materials, like plastic (polyethylene) and concrete. Plastic pits are generally lighter and easier to install. Concrete pits are more durable but also heavier and can be more expensive. You’ll also need to decide on the size. A larger pit can hold more water, meaning your sump pump will run less often. This can extend the life of your pump. For most residential basements, a pit with a diameter of 10 to 18 inches and a depth of 18 to 30 inches is common.
Gathering Your Tools and Materials
Before you start digging, gather everything you’ll need. You don’t want to stop midway through the job. Here’s a checklist of common items:
- Shovel (round point and flat)
- Sump pit (with lid)
- Sump pump (if not already installed)
- Gravel (for drainage around the pit)
- PVC pipe and fittings (for drainage connection)
- Waterproof caulk or sealant
- Measuring tape
- Level
- Safety glasses and gloves
- Wheelbarrow (for moving soil and gravel)
The Excavation Process: Digging the Hole for Your Sump Pit
This is where the real work begins! Digging the hole needs to be done carefully to ensure the pit fits snugly and functions correctly. Many guidelines suggest digging a hole that’s slightly wider than your sump pit. This gives you room to maneuver the pit and add gravel for drainage.
Marking the Pit Location
Once you’ve chosen the spot, use your sump pit as a template. Place it on the floor and trace its outline with chalk or a pencil. This gives you a clear starting point for your excavation. Make sure the circle you draw is slightly larger than the pit itself – about 2-3 inches wider all around is a good rule of thumb. This extra space is crucial.
Digging the Hole
Start digging within your marked circle. Use a round-point shovel for breaking up the soil and a flat shovel for cleaning out the bottom. Dig down until you reach the depth required for your sump pit, plus a few extra inches for a gravel base. We found that digging in stages can make this process less daunting. Remove the soil carefully. A wheelbarrow is your best friend here for transporting the dirt away. Ensure the sides of the hole are as vertical as possible. This helps prevent cave-ins.
Preparing the Base
Once you’ve reached the desired depth, spread a layer of gravel (about 4-6 inches) at the bottom of the hole. This gravel layer creates a stable base and allows for proper drainage beneath the pit. It also helps to prevent the pit from settling unevenly over time. Compact the gravel slightly with your shovel or a flat piece of wood to create a firm surface.
Installing the Sump Pit and Connecting Drainage
With the hole dug and the base prepared, it’s time to place the pit and get it connected to your home’s drainage system. This step involves a bit of precision to ensure everything is sealed and functional.
Setting the Sump Pit
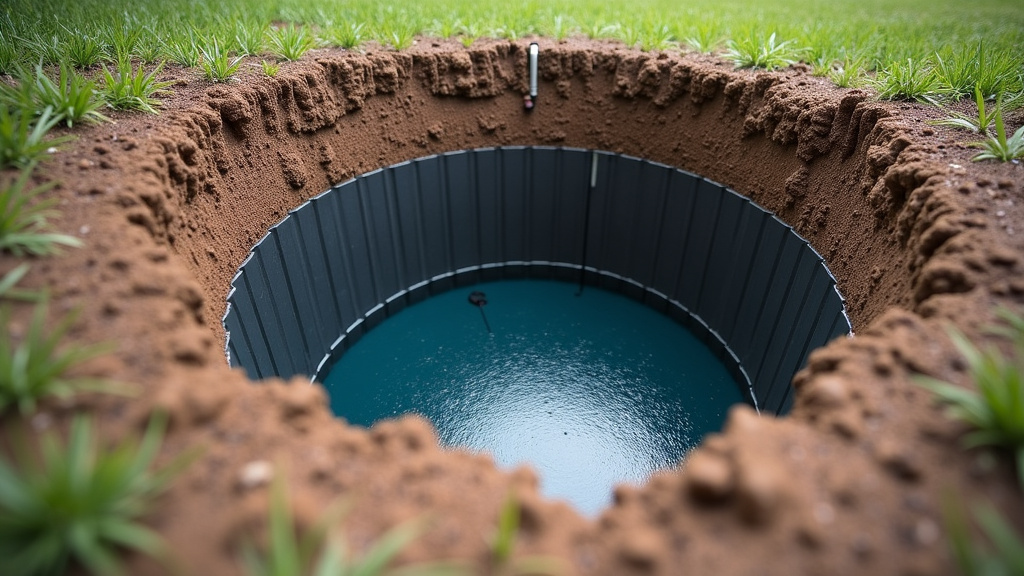
Carefully lower the sump pit into the excavated hole. Use your level to ensure the pit is perfectly vertical. This is vital. An unlevel pit can affect the performance of your sump pump and cause it to wear out prematurely. Once it’s level, backfill around the pit with more gravel. This not only supports the pit but also allows water to flow freely into it from the surrounding soil. Make sure the top edge of the pit is slightly above the surrounding floor level, or flush, depending on your local building codes and preference. We found that some people prefer it slightly raised to prevent surface water from entering easily.
Connecting to Your Drainage System
This is a critical step for effective water management. Your sump pit needs to be connected to your home’s footing drains or interior perimeter drain system. If you have existing drain lines, you’ll need to cut into them and install a fitting to direct water into the sump pit. Use PVC pipe and appropriate connectors for this task. Many experts recommend using a This is a critical step for effective water management, and understanding the sump pump discharge is key.perforated pipe that runs around the base of the pit to help capture more water. Ensure all connections are secure and sealed with waterproof caulk or sealant to prevent leaks.
Installing the Sump Pump and Lid
Place your sump pump inside the pit, ensuring it’s sitting level on the bottom. Connect the discharge pipe from the pump to your home’s existing drainage system or to an exterior discharge line. Make sure this line directs water away from your foundation. Finally, place the lid securely on the sump pit. The lid helps to prevent debris from entering the pit and also reduces moisture and radon gas from entering your basement air. Many lids also have a knockout for the pump’s discharge pipe.
Testing Your New Sump Pit System
Once everything is installed, you must test your system. This is your chance to make sure it works as expected before a real water event occurs. This step is incredibly important for your peace of mind.
The Water Test
You can perform a simple water test by pouring several gallons of water into the sump pit. Watch as the water level rises and triggers the sump pump. The pump should activate, remove the water, and then shut off. Observe the entire cycle. Check for any leaks around the pit or pipe connections. This test helps confirm that your pump is working and that the pit is collecting water effectively. Many professionals recommend testing your sump pump at least twice a year, especially before the rainy season.
Conclusion
You’ve learned how to install a sump pit, a vital step in protecting your home from water damage. It involves careful planning, digging, and connecting your drainage. While it requires effort, the satisfaction of a dry basement and potential cost savings are well worth it. By following these steps, you can successfully set up your sump pit and ensure your peace of mind. The next step is to gather your tools and begin the installation process to keep your basement safe and dry.
Frequently Asked Questions
How deep does the hole for a sump pit need to be?
The hole should be deep enough to accommodate your sump pit plus about 4-6 inches for a gravel base. Ensure the pit sits level and its top edge is positioned correctly according to local codes or your preference.
Can I use concrete instead of gravel for the sump pit base?
While a concrete base offers stability, gravel is generally recommended. Gravel provides better drainage beneath the pit and helps prevent it from settling unevenly over time.
What size sump pit should I choose for my home?
For most homes, a sump pit with a diameter of 10-18 inches and a depth of 18-30 inches is suitable. Larger pits mean your pump runs less often, potentially extending its lifespan.
Do I need a lid for my sump pit?
Yes, a lid is essential. It prevents debris from entering the pit, reduces moisture and radon gas release into your basement air, and can often accommodate the pump’s discharge pipe.
How often should I test my newly installed sump pit system?
After installation, test your system immediately. It’s a good practice to test it at least twice a year, and especially before periods of heavy rain, to ensure it’s functioning correctly.